Send SMPTE LTC
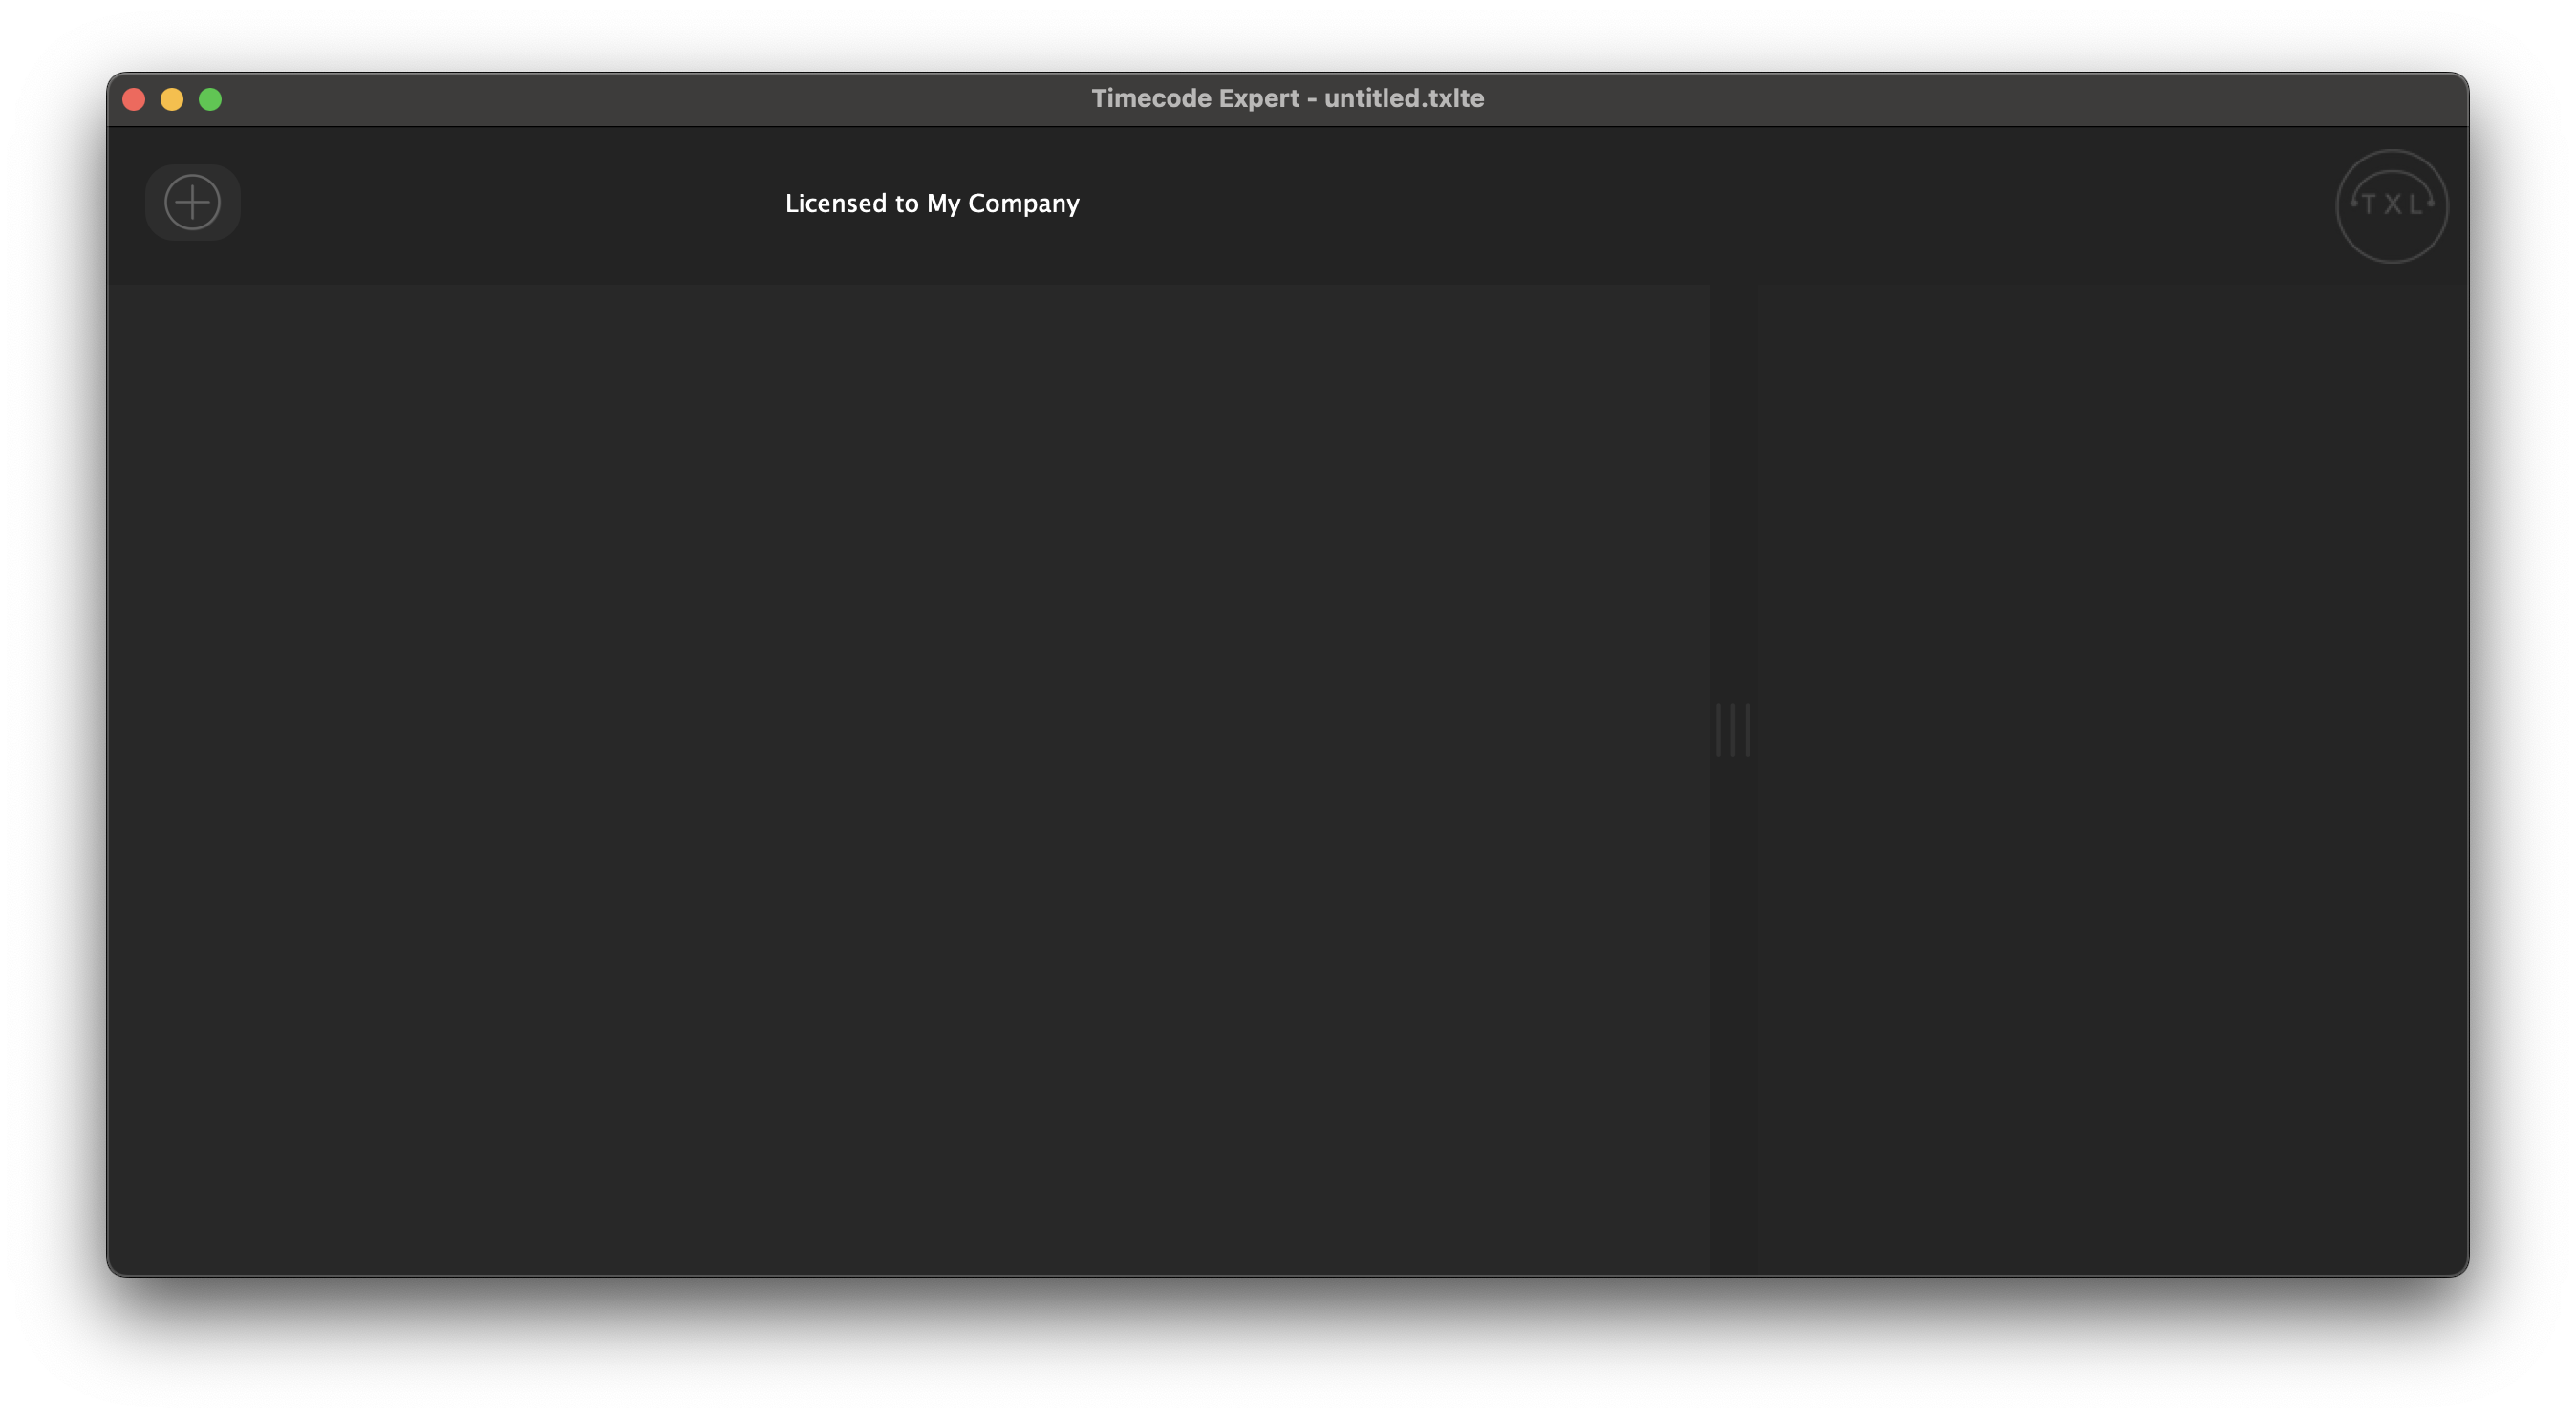
We start with an empty project. To start Sending SMPTE LTC, you click on the add component '+' button on the top left of the start screen.
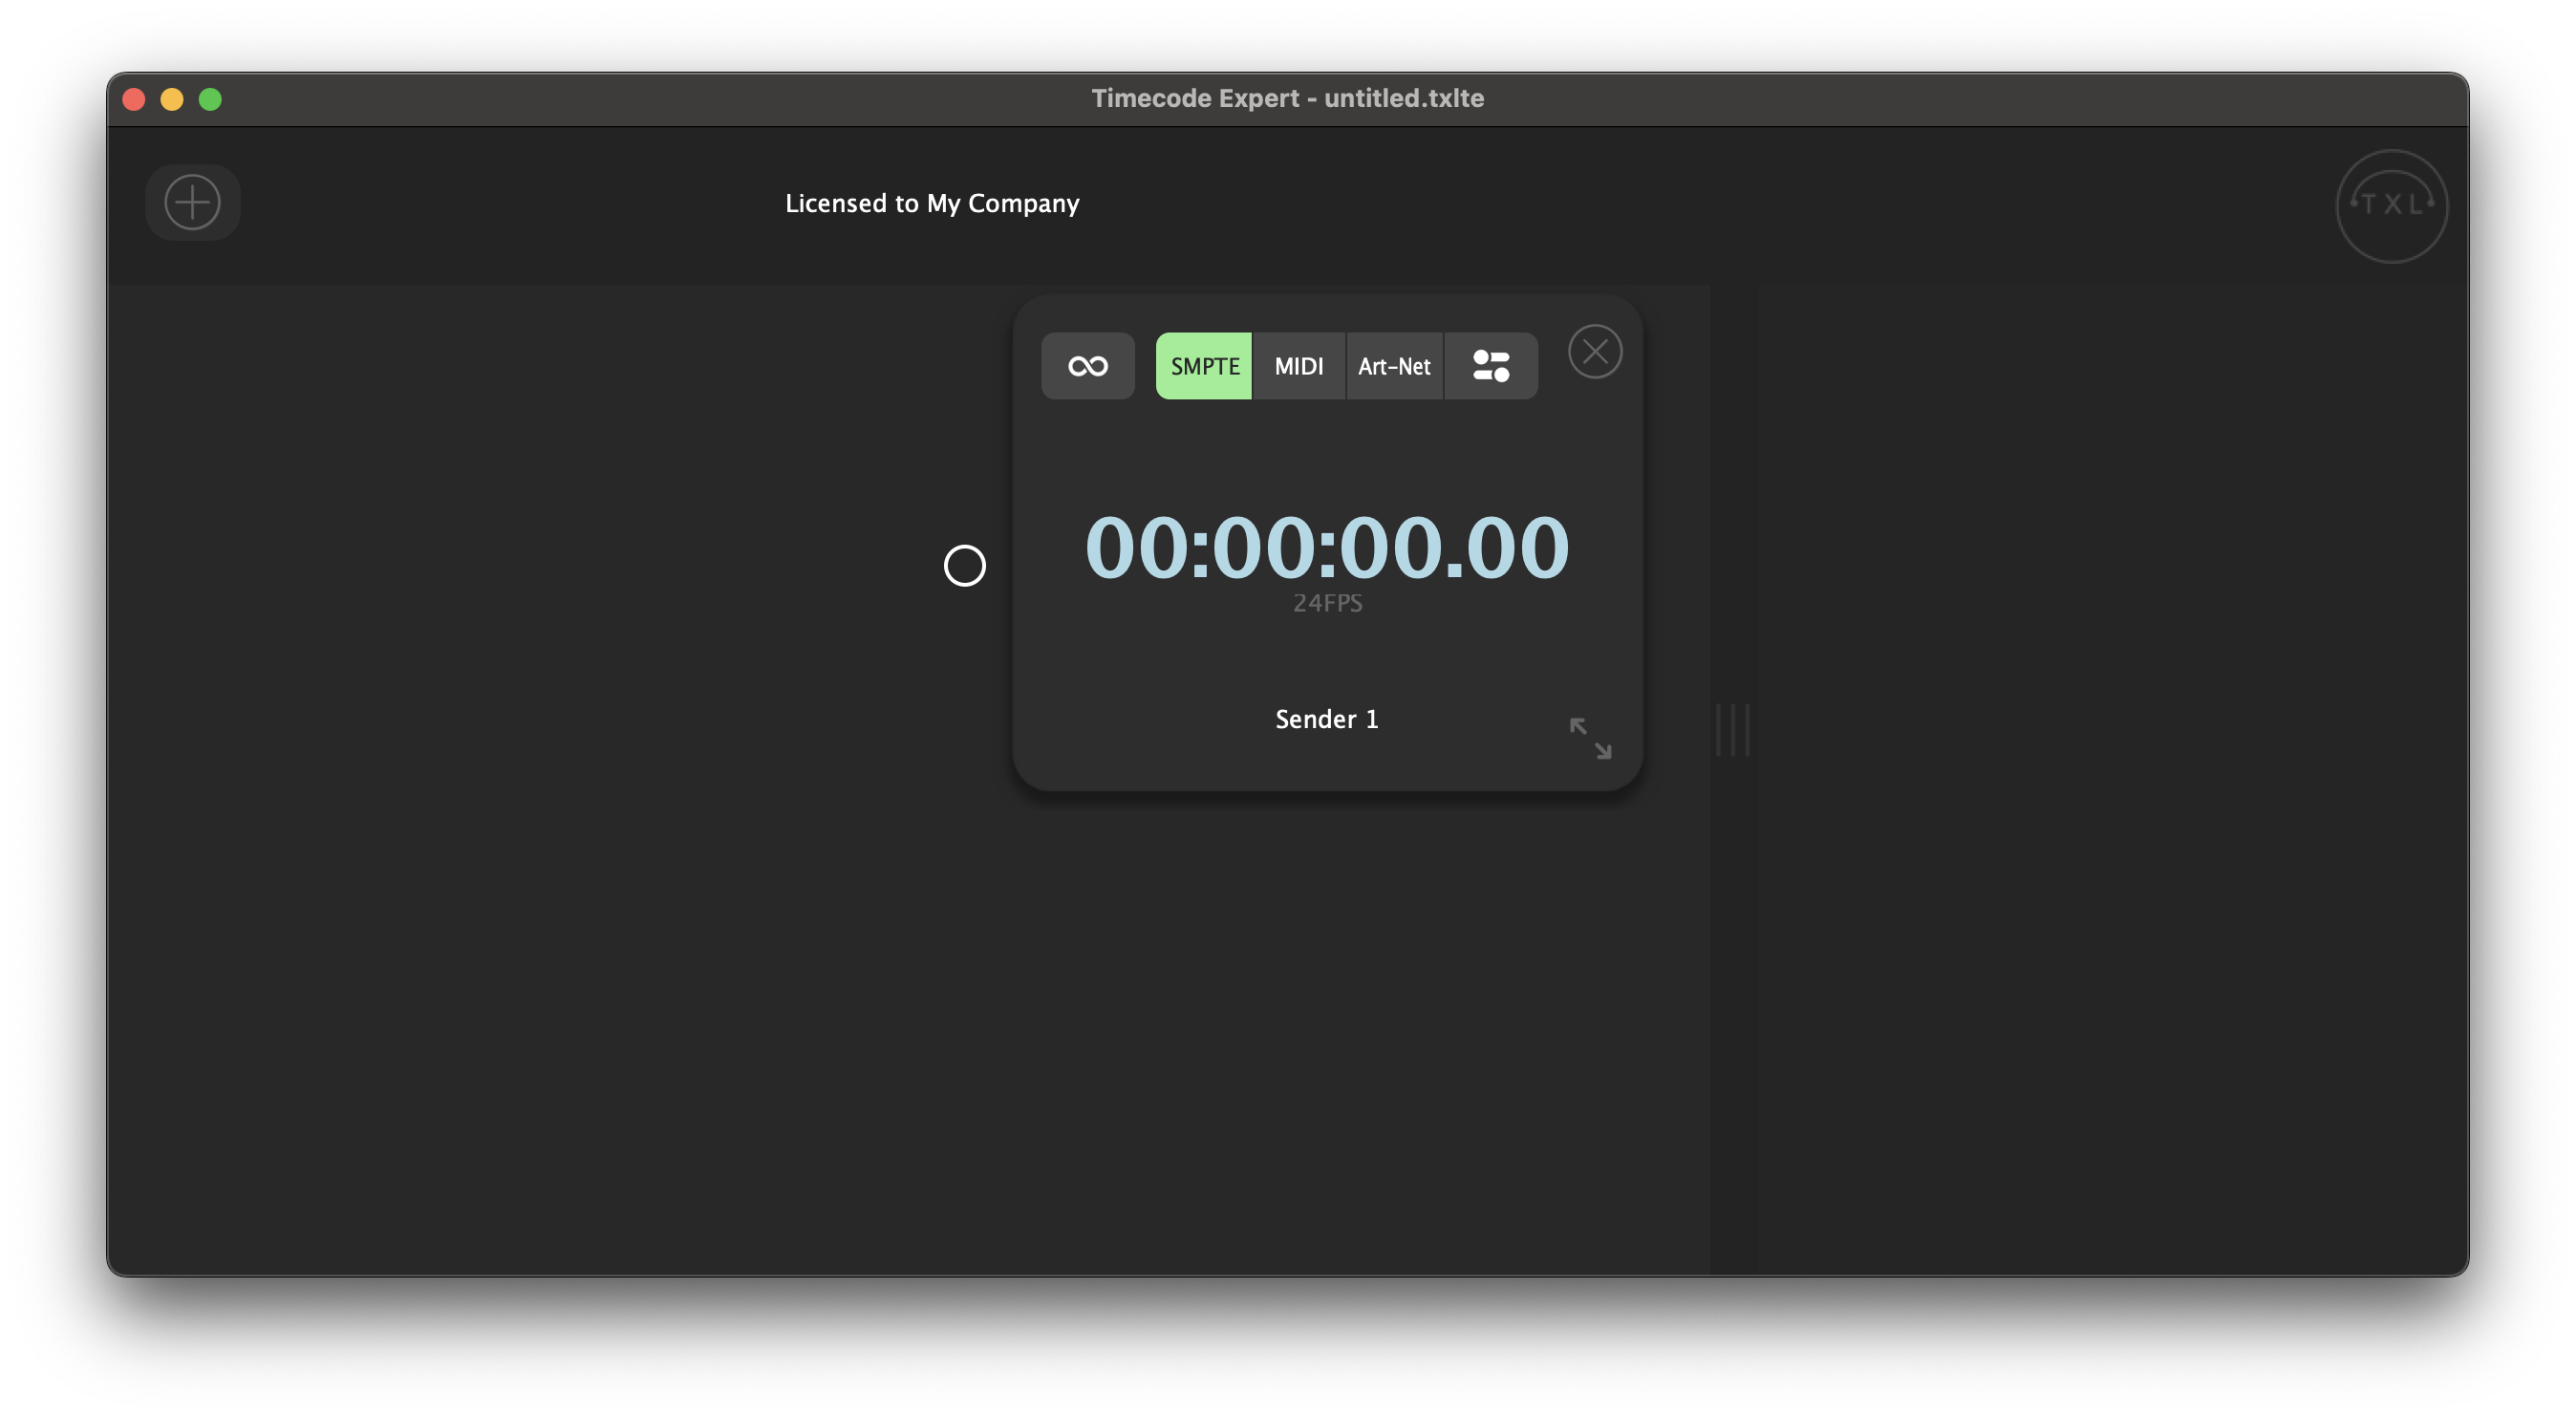
In the bar that pops up, you click 'Sender'.

A Sender is added to your project. You select 'SMPTE' as the output mode by clicking the [SMPTE] button, which will then turn green.
To configure the SMPTE output, you click the settings button. Here you can set the following settings:
- The frame rate. You can choose between the following frame rates:
- 24 FPS
- 25 FPS
- 30 FPS
- 29.97 FPS DF
- The audio output: The audio channel you want to use to output the SMPTE
Make sure to select the preferred audio output at [Options] -> [Preferences] -> [Audio] -> 'Output', and select the channels to be active at 'Active output channels'
- The offset: Here you can set the offset to be applied to the Sender. You can set an offset by hours, minutes, seconds, and the decimal, as selected as the clock display mode.
- The clock display mode
- HH:MM:SS:FF: Hours:Minutes:Seconds:Frames
- HH:MM:SS:MM: Hours:Minutes:Seconds:1/100th seconds
- HH:MM:SS:MMM: Hours:Minutes:Seconds:Milliseconds
- HH:MM:SS: Hours:Minutes:Seconds

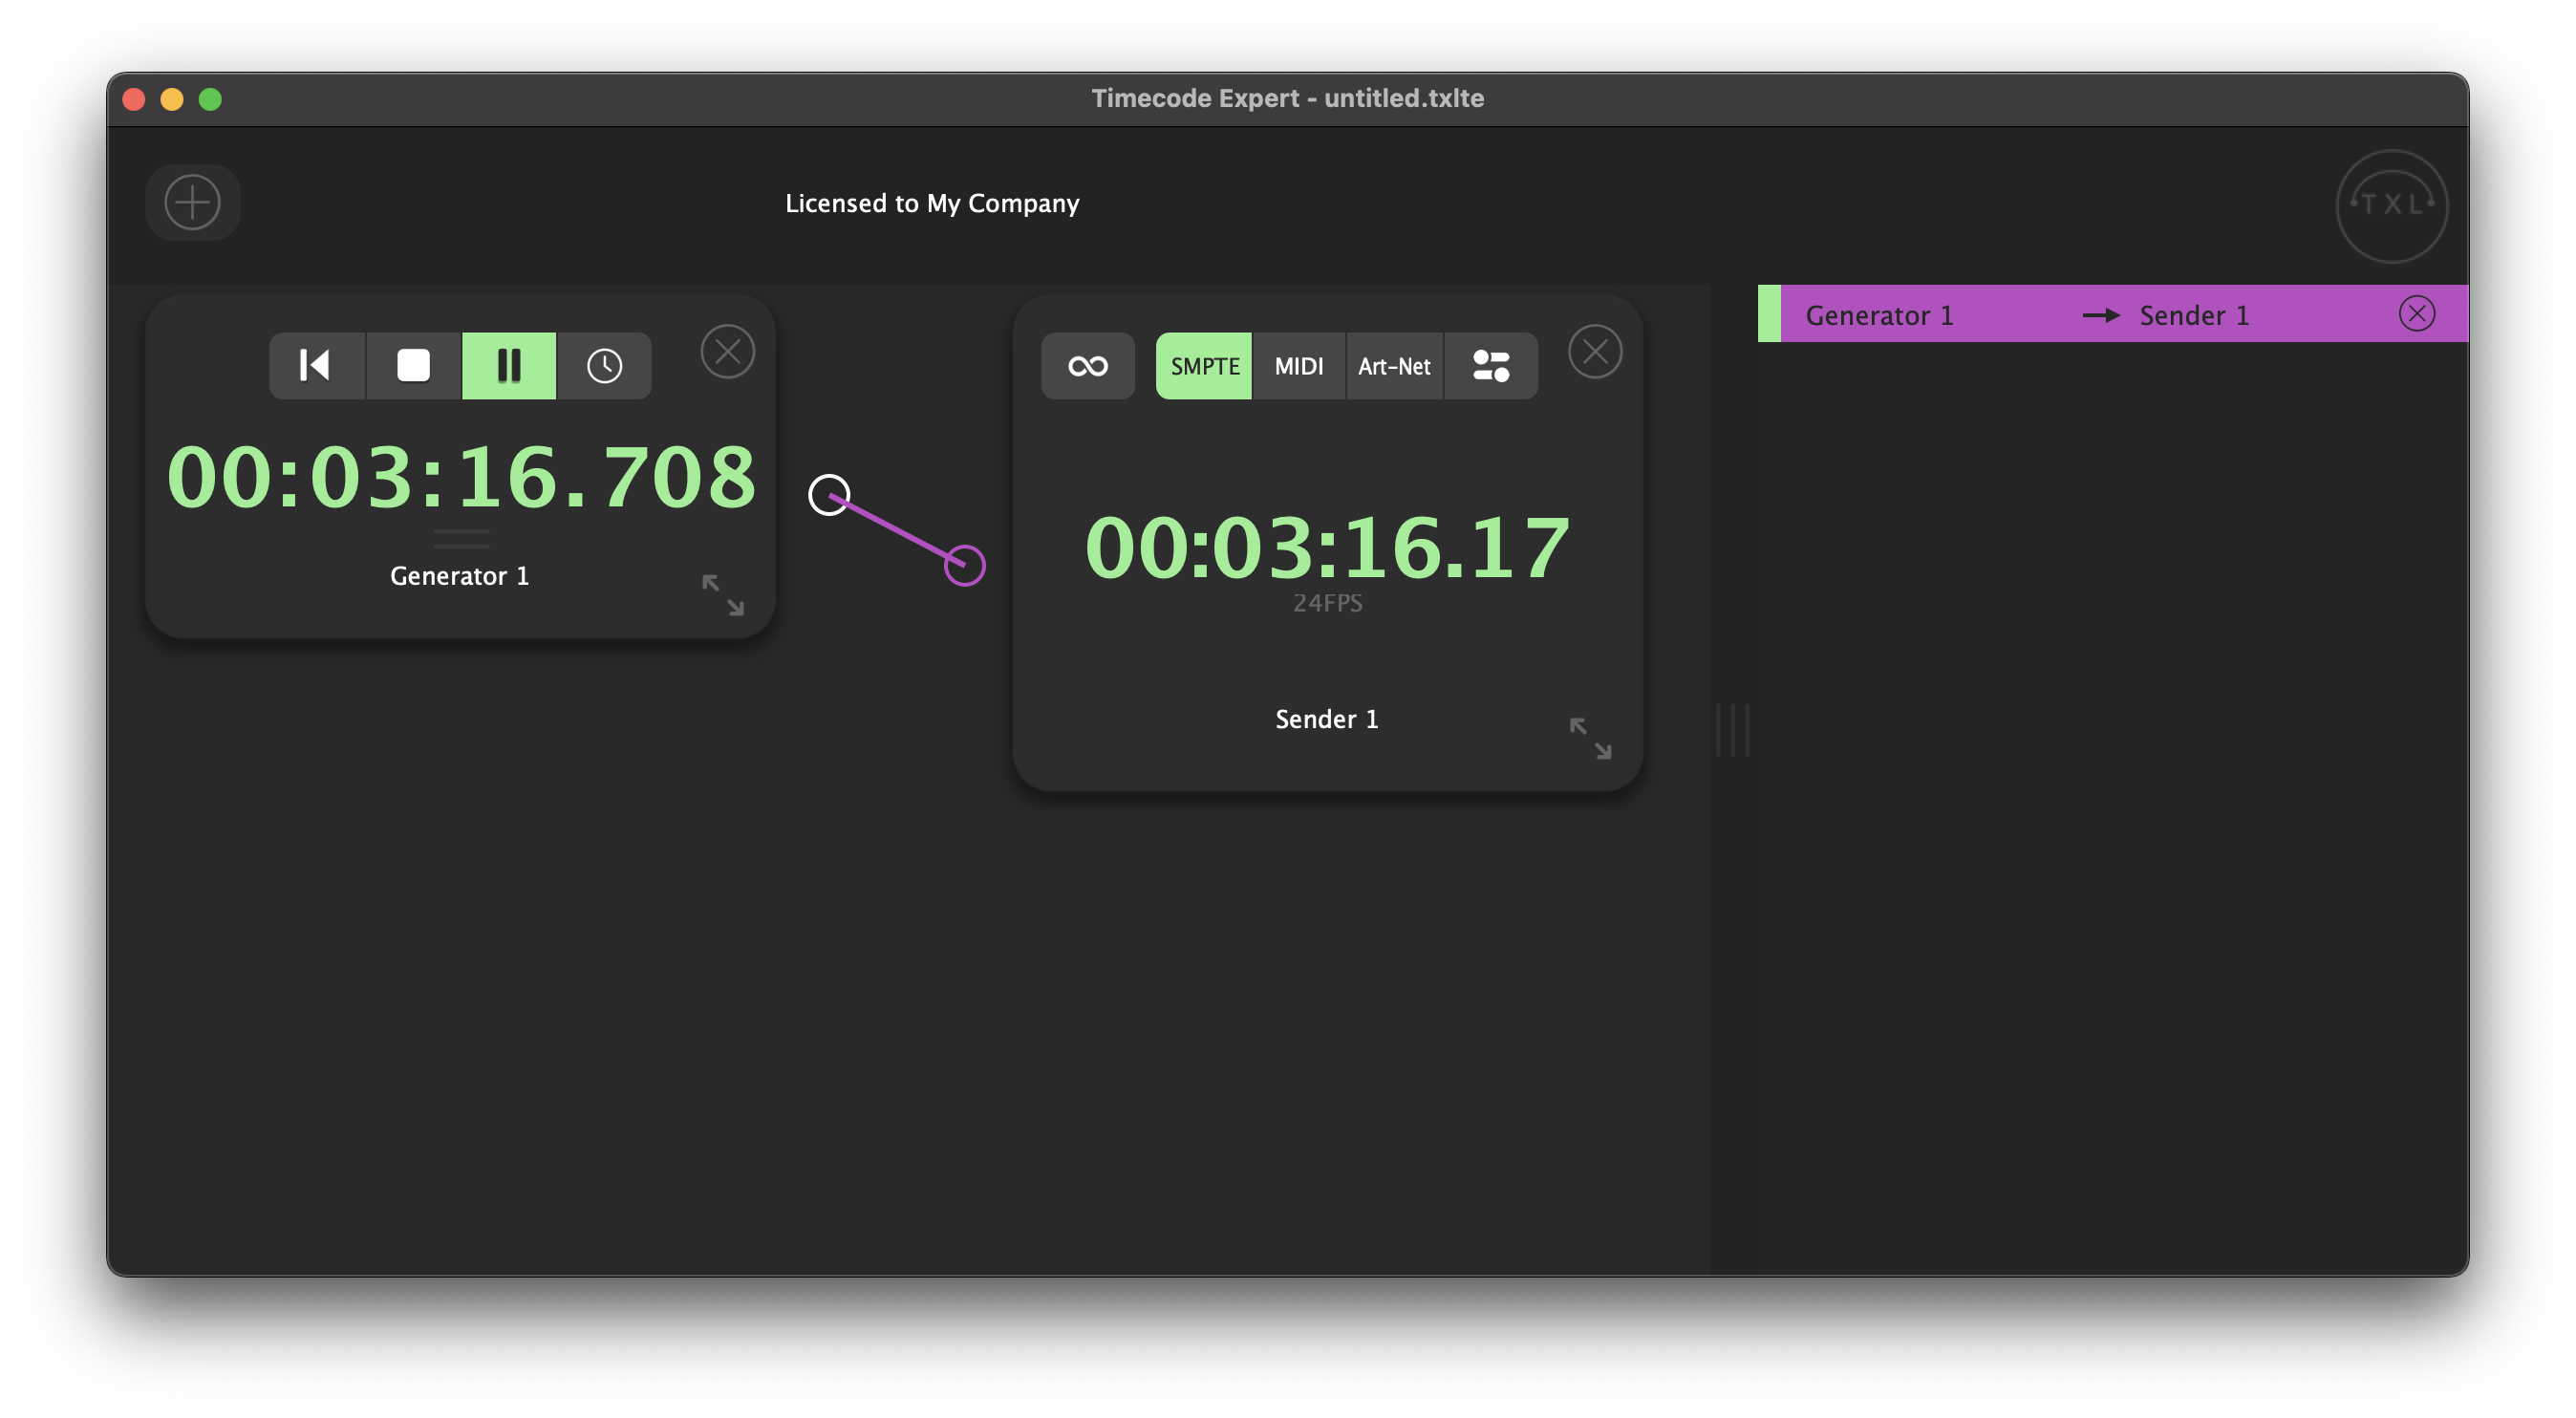
When you have a left-side component running, for example a Generator, and you draw a routing from the Generator to your SMPTE Sender, SMPTE will be outputted over the selected audio channel.