Receive SMPTE LTC
We start with an empty project. To start receiving SMPTE LTC, you click on the add component '+' button on the top left of the start screen.

In the bar that pops up, you click 'Receiver'.

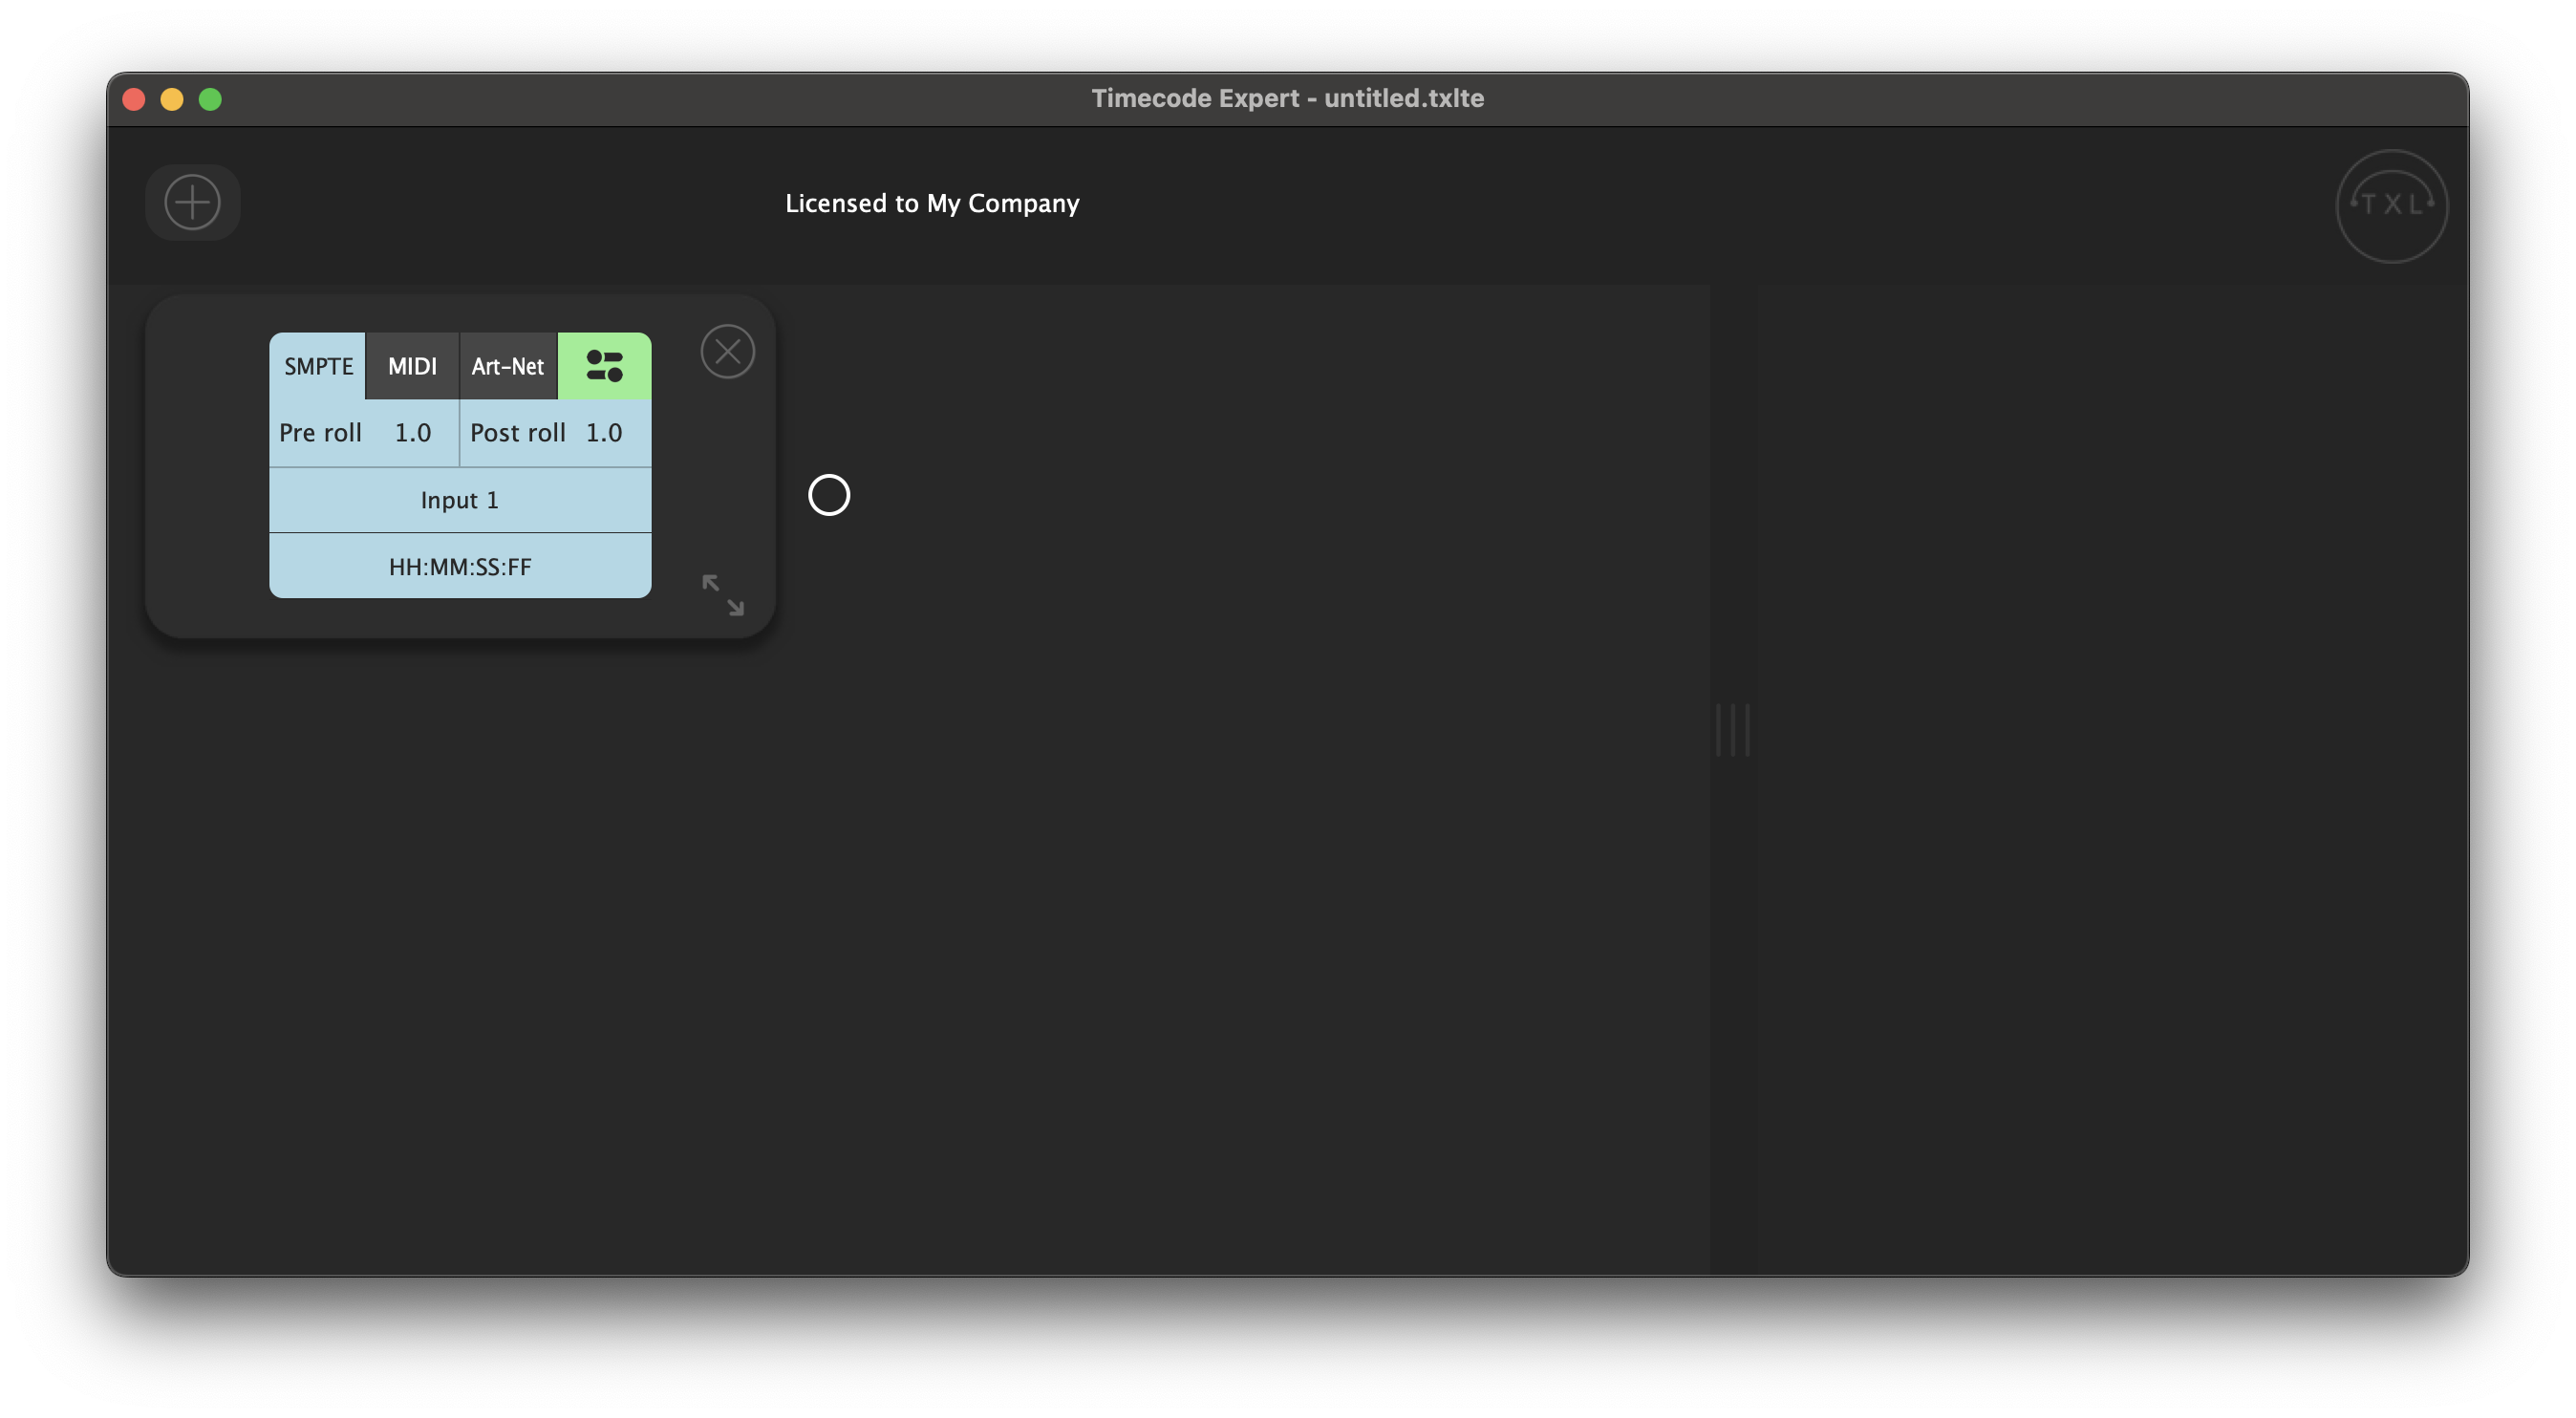
A receiver is added to your project. You select 'SMPTE' as the input source by clicking the [SMPTE] button, which will then turn green.

To configure the SMPTE source, you click the settings button. Here you can set the following settings:
- Pre roll: the number of seconds of timecode received to wait before locking to the timecode stream
- Post roll: the number of seconds to remain playing the timecode when the source has stopped receiving timecode
- The audio input channel to listen to
Make sure to select the preferred audio input at [Options] -> [Preferences] -> [Audio] -> 'Input', and select the channels to be active at 'Active input channels'
- The clock display mode
- HH:MM:SS:FF: Hours:Minutes:Seconds:Frames
- HH:MM:SS:MM: Hours:Minutes:Seconds:1/100th seconds
- HH:MM:SS:MMM: Hours:Minutes:Seconds:Milliseconds
- HH:MM:SS: Hours:Minutes:Seconds
When you have a SMPTE LTC stream running, that outputs to the selected IP-address, the receiver will start running and lock to the incoming timecode stream. It will display the frame rate below the clock.

When you have created a Sender component, you can draw a routing from the SMPTE receiver to the Sender and start converting timecode.
